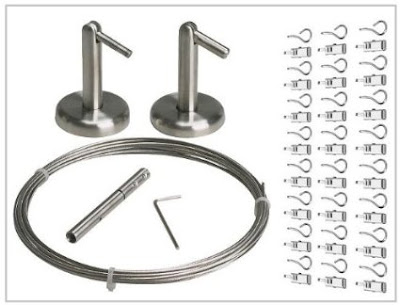
I think it was on my first IKEA trip that I picked up these Dignitet sets -- they're supposed to be used to hang curtains but I had seen them used to hang art instead and I loved that idea. So yeah…I've probably had these for about five years now. Maybe more. I'm telling you, I am ON it.
I am one of those weird ones that doesn't really mind putting IKEA stuff together, but the instructions for this stumped me a little bit. Afterwards I felt pretty dumb that I couldn't figure it out, but sometimes words are really helpful. :)
Since I figured it out I thought I would share how to install these -- they are so fun! Such a simple, cute way to hang art, photos and papers. I've been planning to hang these in the mud room for years now (when I got them I didn't have a place in mind, I just thought they were cute). It's a great idea for a "command center" so I knew it would work well in there.
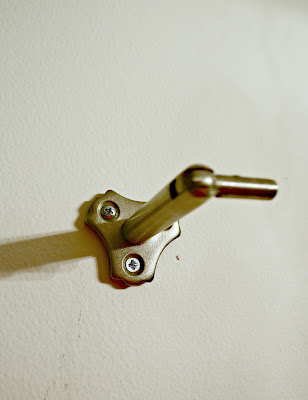
The assembly is easy -- screw the pieces marked with "L" together and "R" together. These hold the wires:
Mark where you want them on the wall, making sure the little part that turns is facing the direction you want and is level:
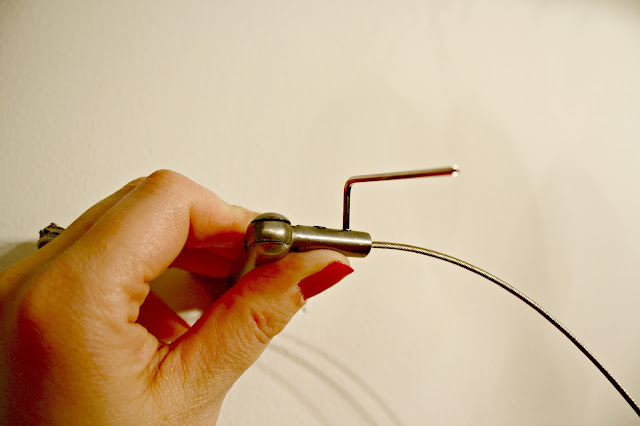
The set comes with a little Allen wrench that you use to loosen the two small screws. Then place the wire in and tighten them again -- this holds it tight:
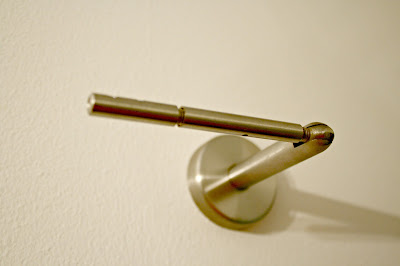
Next, measure where your right bracket will go (make sure it's the same height as the one on the left) and then install it. This side has an extra piece you screw on:
This part is important -- loosen those two bars a bit. You'll want to be able to tighten them after you insert the wire.
Use wire cutters to snip it down -- you may have to rock it back and forth a bit to get through all of it:
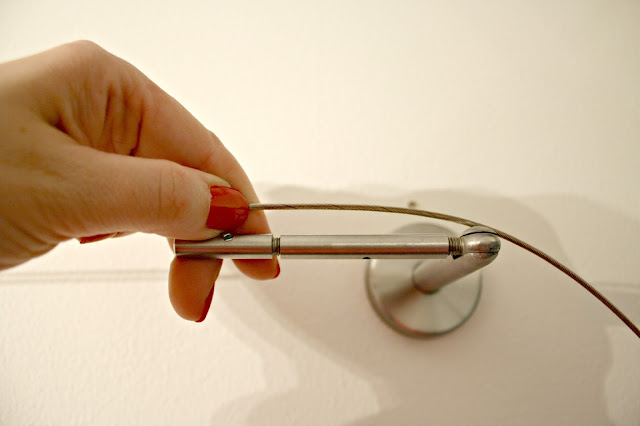
Then insert the wire and hold as tight as you can while you tighten the screws:
This is why it's important to unscrew this side a little bit before you insert the wire. Because you did that you can turn both pieces and they will put the wire taught:
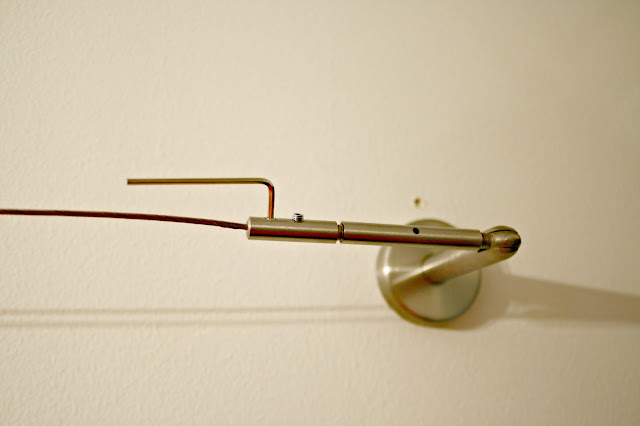
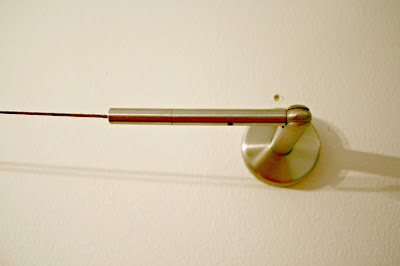
The upper photo is the wire installed without tightening, the bottom is how nice it looks when you screw those pieces together after inserting the wire:
As you can imagine, it's kind of hard to gather the need to do this from just photos and no words in the instructions. :) Sorry for the lighting -- this is the hardest room in the house to photograph!
Years ago I found a vintage sign I picked up for this room:
I've since moved it because it just didn't hold enough. I like being able to put important notes, school papers and of course the Bub's artwork on this wall and there weren't enough clips.
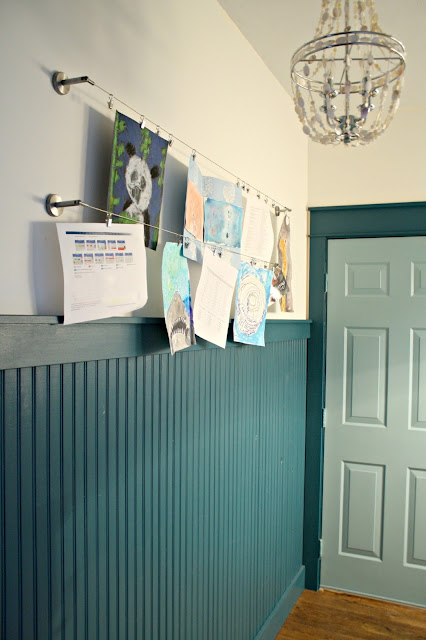
This IKEA doodad works perfectly and I love the look!:
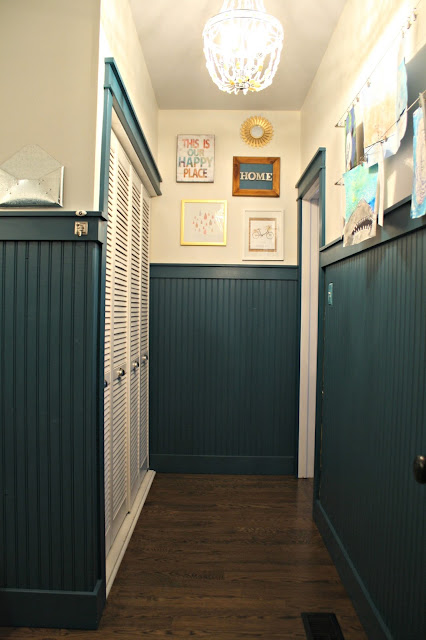
I flip flopped my usual trend in here and went with white walls and color on the wall treatment. Because of that I've been planning to use art to pull in some color on the walls. This works great!
I still have to build the storage unit up above the bench, but I have added a few more little details and took one away -- our old cat that passed away a couple of months ago LOVED the no-sew cushion I made for this bench. He loved it so much that he slept on it all day and night (this is the warmest room in our house because of the furnace). It was dirty from months of this and because I covered it with a woven rug, it wouldn't come clean. So I removed it and actually like it better without for now:
I don't know that I'll put one back on there or not -- I love seeing the wood bench so much!
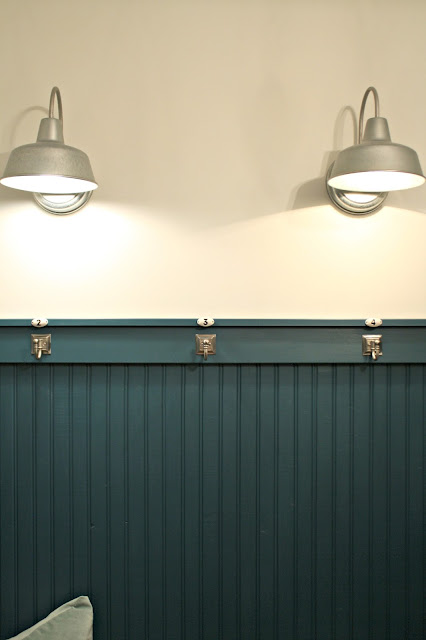
I couldn't pass up these little ceramic numbers:
And I've added some art over the past year or so, but I'm not sure it will stay or stay in this spot:
I have a feeling I'll change that up to something simpler because of the art along the long wall now. I plan to add crown molding to the room as well.
This is another room that I really want to finish up this year -- there's not a ton left to do but I have a crazy idea that I plan to look into a little further. Of course I'll let you know if I tackle it. ;)
Otherwise the only big project is the built in above the bench -- I finally have a plan in mind. I love to look back at pictures to see how far this room has come!:
That's how this room looked ALL the time. Moving our laundry to the basement was one of our best decisions ever in this house!
Have you used this cute little IKEA contraption? I love the idea of using these wire hangers for art! I think it would be so fun in a playroom or kid's room too. If you don't have an IKEA nearby you can get it on Amazon too. Those sets come with the clips as well, which you have to buy separately if you purchase at IKEA.
Also, I used two Dignitets but there's a TON of wire in each one. I only used two thirds of one set of wire -- so I have plenty left to do this in another spot with more brackets. Of course you can use these for their intended purpose too -- to hang lightweight drapes. They are great for odd spaces like a bay window or around corners because you can add support pieces along the way.
Have a great weekend my friends!
Here are some projects from this room you may enjoy:
DIY built in bench (using kitchen cabinets)
Why we moved our laundry to the basement (if the photo above doesn't clue you in)






Post a Comment