Many of you have mentioned in the past that I get a lot done -- I hope that you all know it's because it's my job. ;) I like to share worthwhile content and to do that I keep busy most weeks. Some weeks I don't do anything and I'm missing one of those right about now! But there are a TON of projects that would sit undone around here if it weren't for the blog. I mean really, there are a ton of undone projects around here anyway, but it would be way worse if it wasn't for blogging. For real.
So I was prepping to share another fun Better Homes and Gardens post with you as I do every other month when I noticed a project that needed to be addressed first. We had our new back door installed about a year ago and we LOVE it. There were some problems with the manufacturer (it took much longer than they said it would) and when we got the door it was obvious they rushed through it. The guys who installed it for us ended up taking photos back to Lowe's and got new trim for the door (the trim it came with was not installed well at all).
It came primed but I didn't get to painting it before the winter. Or the spring. Or the summer. Oops.
So over time it became an eyesore:

This section actually looked better than most.
I finally decided to tackle it -- we couldn't leave it like that for another round of wet, cold weather. And I was tired of tracking in tiny little paint chips that stick to everything.
I grabbed some tools and started the process of removing as much paint as I could:

You can use a chemical stripper to get it all off, but I wasn't interested in dealing with all of that this time. I used these two tools primarily:
 One is a wire brush and one is a scraper. I used the scraper more than anything -- getting that flaking paint off is key. Then I used the brush and then a sanding block to make sure no more was coming off.
When I was done I had a much bigger mess, as always:

Fun times! You can see how big of a mess this back door was from the outside -- dead plants and lots of spider webs too. It was on point, let me tell you.
I painted the trim with an exterior black paint, cleaned up all the mess, planted some new mums and then added some new door mats:
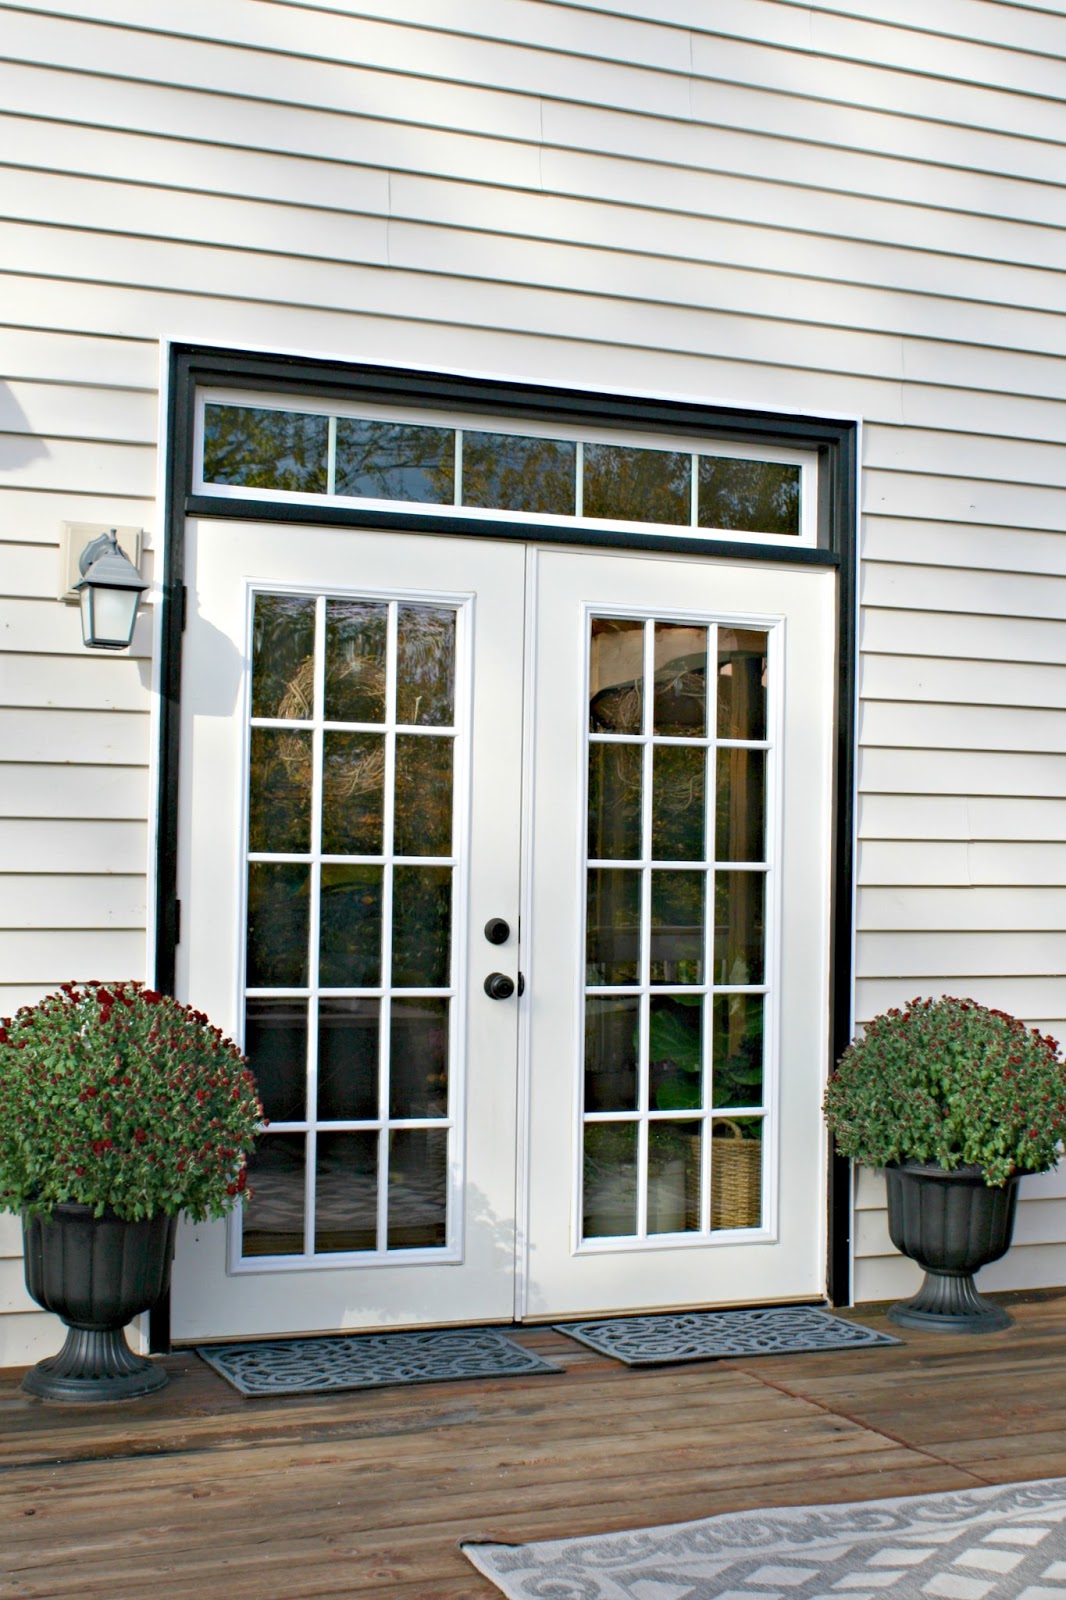
Oh my goodness. So much better! (I showed you how I revived those planters earlier this year here.) I chose two of these BHG mats because I wanted to give the look of two operating doors, even though only one side opens up. We have to have something really thin here or the door won't open, and these work great. Now I'm dying to take that light down and spray paint it like I did these -- it looks so washed out. I'll do that next spring when I paint the actual doors -- baby steps my friends. :)
Last weekend I hosted a 40th bday bash in the back yard so I started sprucing up the patio then. Spring is my busiest time working outside but fall is a close second -- it's a great time to plant! For us it means cleaning up a lot of leaves, but at a certain point you give up and just leave them and embrace the fall look:

We adore our patio and fireplace area and this time of year it's used more than any other. It's so cozy and pretty back there.
Since we're out there more and the nights get chilly, we've wanted to add one of those standing propane heaters for years. You know the kind they have at restaurant patios? I was so excited when I found this one in the Better Homes and Gardens line a couple weeks ago!
I was a little less excited when my husband opened the box and found all the pieces -- but it only took about 30 minutes to put together. It's so sharp looking:

We haven't decided where it will stay for good, but for now it's between the chairs by the fireplace and our outdoor table:

Holy cats, we love it. My hubby turned it on and the whole family stood under it, enjoying the warmth. So cool! It has a high and low setting -- the high gets super hot. I also loved the little table on it -- how fun is that? You can move it up and down to whatever height you want. I was going to stage it with a glass of wine but I may have drank it.
It has wheels so we'll be able to move it around wherever, or take it up on the deck too:

It's heavy so it takes some effort to move it but that means it's safe in that it would be really hard to knock over. The hood assembly on the top took more time to put together than the whole unit, but that's the best part because it keeps the warm air pushed down. Love it.
Can we talk about those mums? Gorgeous right?? I've never seen them with blooms like that. They are so big and FLUFFY. I'm going to have to plant them in the ground later this season:

I always decorate the hearth a little bit -- a few pumpkins and pine cones (throw a few in to help start your fire!) and call it done. With the pretty changing leaves in the background I don't need to add much. :)
I wish I could have you all over for a glass of wine back here. It really is a special spot, especially this time of year:

We will cover the chairs and bring in some items later this season, but otherwise it's cleaned up and ready for cooler weather. By the way, the heater comes with a cover for the top, not sure if we'll leave it out all winter or not though.
Are the leaves changing where you are? Is it finally cooling down? It happens so fast -- we were just in the 80's and now it's downright chilly in the evenings. I'm not complaining! This is my absolute favorite time of year!
I received compensation from BHG at Walmart for my time and participation in the BHG Live Better Network. All experiences and opinions are my own. Follow BHG on Twitter, Facebook, Instagram or Pinterest.

Post a Comment